6 Easy Steps to Setup VPN on Your Raspberry Pi

Raspberry Pi is a single-board computer of UK origins that has taken the world by storm since is introduction in 2015, selling close to 20 million units. Its main purpose is to teach computer science in schools as well as developing countries.
In such places, a great work-around for this type of censorship is by using a Virtual Private Network (VPN). But with a Raspberry Pi computer and some basic coding skills, you can actually build your own VPN server from the comforts of your own desk.
From there, you can browse the Internet with a heightened sense of security through your home network, as well as accessing shared files from your home computer on your own local-area network.
What You Need to Build a VPN Server on Raspberry Pi
The following are necessary in order to build your own VPN server on your Raspberry Pi computer.
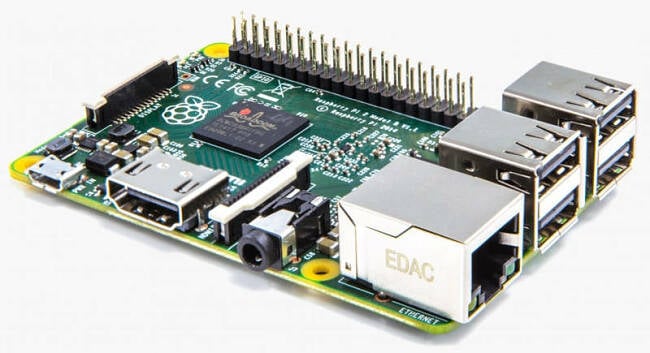
- Raspberry Pi/Pi 2 computer
- 8GB micro SD card
- SD card reader
- HDMI monitor (either a computer monitor or a television)
- USB keyboard
- Ethernet network cable
- 5-volt mini USB power supply (such as a phone charger)
Step 1: Prepare to install Raspberry Pi operating system
This first step involves the micro SD card. If you are using or reusing an old SD card, you must make sure you have properly formatted it to remove any old files. This can be done for free at http://sdcard.org
Once the card is fully formatted, insert it into your card reader.
Step 2: Installing Raspbian onto your Raspberry Pi Computer
Get online and visit the Raspberry Pi website. Download the New Out of the Box Software (NOOBS). NOOBS is an operating system installation manager. Open the file, select all files, then drag and drop them to your SD card in the card reader.
Now, take your SD card and insert it into the Raspberry Pi. Follow that up by connecting a monitor, keyboard, and power cable.
After you power on the Raspberry Pi, observe the green light blinking as the computer processes data from the SD card. Following this, a window will pop up. Opt for Raspbian and press ENTER to initiate the installation. Remember to modify the default password before proceeding.
Step 3: Create a static IP address for your Raspberry Pi
Connect your Raspberry Pi to your router with the Ethernet cable.
Pull up a command prompt and type: ifconfig
A host of information will follow, some of which you need to record with pen and paper. Record the digits and letters following:
- Inet addr
- Bcast
- Mask
Back to the command prompt, type: sudo route -n
Now record the characters after:
- Gateway
- Destination
Back at the command prompt, type: sudo nano /etc/network/interfaces
Find the line that reads “iface eth0 inet dhcp” or “iface eth0 inet manual”
If your file says “manual”, use the arrow keys to delete it and replace it with the world “static”.
Next, put your cursor at the end of the line and press Enter.
On the following lines, insert the information you notated in the lines above between the square brackets.
- Address [your current IP address]
- Netmask [your subnet mask]
- Network [your destination]
- Broadcast [your broadcast range]
- Gateway [your gateway]
Save the file by press CTRL and X at the same time. At the command prompt, type: sudo reboot
Step 4: Constructing your VPN on Raspberry Pi
Raspbian comes with OpenVPN installed and ready to unpack.
At the command prompt, type: sudo apt-get install openvpn
Now you must generate keys to ensure you’re the only one using your VPN. Use Easy_RSA to generate your keys. When you want to execute commands in your root directory, make sure you type: sudo -s.
At the command prompt, type: cp-r/usr/share/doc/openvpn/examples/easy-rsa/2.0/etc/openvpn/easy-rsa
Next type: cd /etc/openvpn/easy-rsa
In the text that opens find the line that begins: export EASY_RSA=
you need to move the cursor down to edit this line to read:
export EASY_RSA=”/etc/openvpn/easy-rsa”
Find the text that reads “export KEY_SIZE=1024” and change the numeral to “2048”.
Keep scrolling and change the proper settings on Country and City.
Step 5: Build certificates for your VPN
Open the easy-rsa directory at the command prompt type by typing: cd /etc/openvpn/easy-rsa
Then type: source ./vars
Next, type: ./clean-all
This will remove any previous keys in the system.
Next type: ./build-ca
Step 6: Name the server
You can name your server whatever you want, just don’t forget the name
Type: ./build-key-server [ServerName]
Just a few more steps round out the process.
Common Name is the name of the server
Challenge password must be left blank
Type “y” for sign the certificate.
Finally when prompted with the question:
1 out of 1 certificate requests certified, commit? [y/n]
Type “y” and the process is complete.