
Adobe Connect Download for Free - 2024 Latest Version
| 2022.7.183.64 | |
| Windows, Mac, iOS, Android | |
| Free Trial | |
| a | |
| 2,404,878 | |
| Office and Business Tools |

Adobe is taking virtual meetings to the next level with its Connect app. The video conferencing tool does more than just ensure a quality video stream for your meeting or webinar.
The software is designed for businesses and has a large selection of features that you can use for everything from remote training sessions to boardroom meetings and webinars to sales calls. In addition to the standard features, like sharing screens and documents, Adobe Connect lets you personalize your meeting rooms with pre-built templates, a backstage area for seamless collaboration, and tools for engaging with your audience.
Before you get a subscription for Adobe Connect, follow these simple steps, and I’ll show you how to download a free trial and install it on your PC.
Download Adobe Connect For Free!
How to Download and Install Adobe Connect on PC for Free
- Go directly to the official Adobe Connect download page.
- Press the Free 30-Day Trial button.
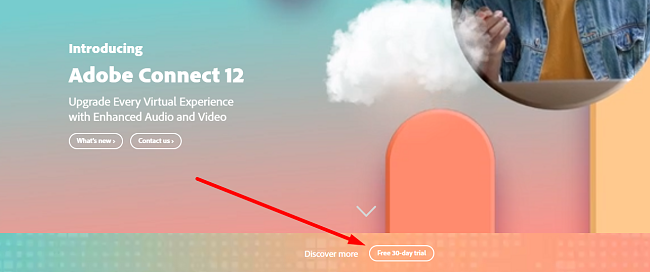
![Adobe Connect free trial]()
- If you already have an Adobe account, enter your email address, press Continue, and enter your password. Otherwise, press the Create an Account link to register your free account.
- After logging in, you will need to enter your personal contact information and your company organization’s information in the required fields. Then select which Adobe Connect program you want to try, Learning, Meeting, or Webinar (read about the different options in the Overview section). Lastly, accept the Terms of the License Agreement and press the Sign Up button.

![Signup for free trial Adobe Copnnect]()
- Your username and password will be emailed to you. Click on the link in the email to open the Adobe Connect login page and sign in to your account.
- Check the box that you read and agree to Adobe Connect’s terms of service and privacy policy, and press the Accept button, and your admin dashboard will open.
- Adobe Connect works as a web-based tool and through a desktop application. If you want to download the desktop application go back to the Adobe Connect homepage.
- Scroll to the bottom of the page, where you’ll find a section titled Download Adobe Connect Apps. Click on the Windows icon.
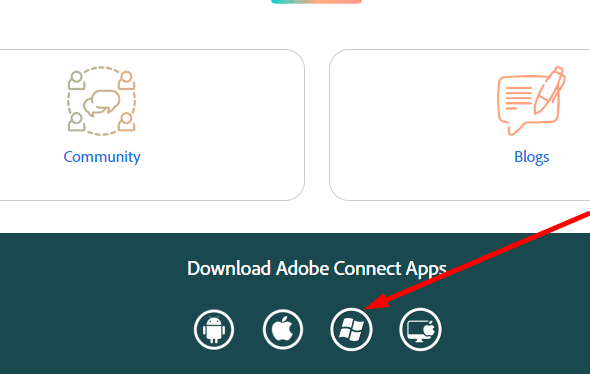
![Download for Adobe Connect Windows]()
- Press Download in the Windows box and the setup file will download to your computer.
- Open the file, and Adobe Connect will automatically begin installing on your computer.
- When the installation is complete, log in using the username and password you received in your email.
Adobe Connect Overview
Adobe is well known as the industry leader when it comes to PDFs and digital editing programs such as Photoshop, Premiere Pro, Lightroom, and Illustrator. Now, they’re positioning themselves as a leader in the virtual meeting, webinar, and video conferencing market with Adobe Connect.
Connect gives businesses a new way to reach out and interact with potential customers, co-workers, and clients. There are three versions of Connect;
- Meetings: Host meetings with up to 25 participants.
- Webinars: You can sign up for a package that hosts 100, 500, or 1,000 people.
- Learning: This option has advanced features that create a virtual classroom for your viewers.
All three options allow you to host video conferences, create a custom layout with different pods, record your meeting, and encourage audience participation.
Download Adobe Connect For Free!
Adobe Connect Features
Adobe Connect gives meeting hosts complete customization control over the virtual meeting. There are different ways to set up your meeting room, and you have the option of saving the elements in your room or creating a template so you can quickly replicate the room in the future.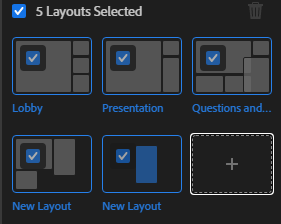
These layouts are known as pods, and you can add components like a chat box, set up interactive polls, a whiteboard, screen sharing, and a video player.
Create a Storyboard
Prepare for your presentation by putting together a storyboard. It will help guide your viewer’s attention to the elements in the proper order. The storyboard also makes it easy to stay focused on what’s next without having to search for the poll questions, videos, notes, quizzes, or graphics you want to share.
Virtual Backstage
Adobe Connect allows up to 4 hosts for a meeting or webinar. The hosts can use the backstage area at any time before or during the meeting to have private chats, collaborate on the presentation, and make changes to the pods for a better viewing experience. Other features included in the backstage area are the list of all attendees, a private chat for the hosts, and a presenter view of the chat room, and QA pods.
Record All Meetings and Webinars
Press the Record button under the main menu tab to begin recording the presentation. A window will open, and you can give the recording a name and a short summary, so it’s easier to find later.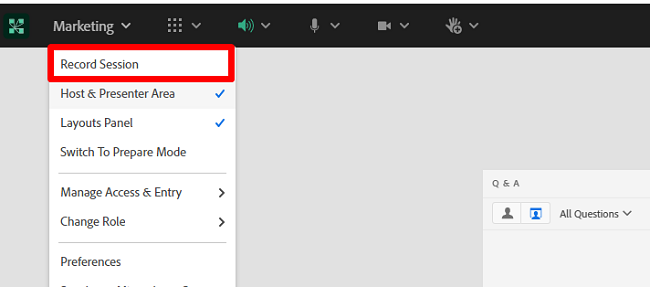
If you broadcast your meeting through VoIP and the Video Pod, it will be recorded automatically. If the meeting is done through the Universal Voice feature, then just the audio will be recorded. In both scenarios, you can disable the recording through the meeting room dashboard.
Connect has tools for editing the recording and placing bookmarks or a table of content for quick access to different sections. The recording is assigned a URL and hosted in the admin section of the hosts’ account.
Engagement Dashboard
Get instant feedback on how your audience is reacting to the meeting or webinar. You can view the data in the backstage area and see if you can make changes during the presentation, such as changing your delivery pace or adding a pod geared to renewing focus. The dashboard gives each viewer a score based on an attention tracking algorithm and whether they participated in interactive features.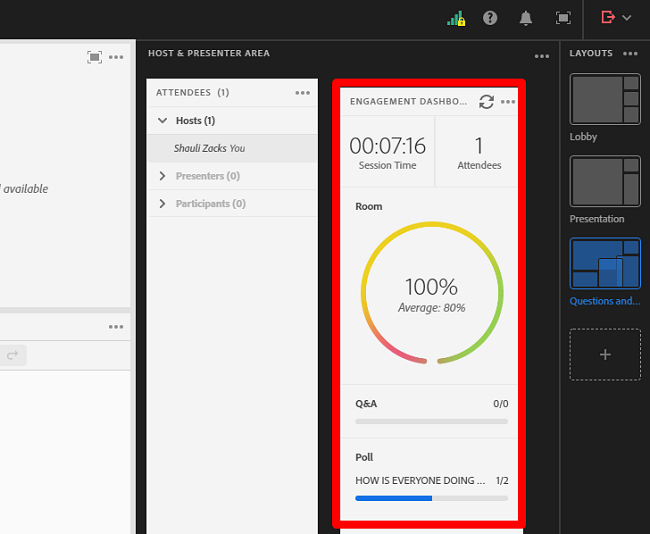
Breakout Rooms
In addition to the main video conference room, you can create smaller rooms for the group. As the host, you can assign specific breakout rooms for specific uses, have the program assign rooms randomly, or allow users to choose their own rooms. This is a great option for segmenting the general meeting into more focused areas. For example, if you’re hosting a meeting for the entire company, you can split the employees up by teams or departments to go over the content directly related to their tasks.
Whiteboard
You can start with a blank whiteboard or prepare it for the meeting with brainstorming ideas, shapes, and colors. Give your viewers editing access and collaborate on different ideas, or restrict editing access to the hosts.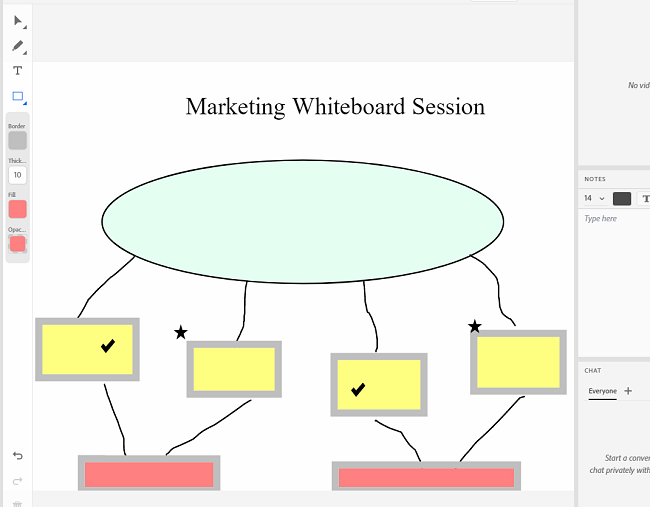
Multiple Chat Rooms
There is no limit to the number of chat rooms that you can open during a presentation. It’s a good way to keep the chats focused on specific topics. Chats can have colored text, icons, and emojis to make things lively.
Download Adobe Connect For Free!
How to Uninstall Adobe Connect From Your PC
If Adobe Connect isn’t the right video conferencing app for your needs, you can uninstall the app in a few simple steps.
- Type Add or Remove Programs in the Windows search bar, and press Enter.
- Locate Adobe Connect with the installed programs and press Uninstall.
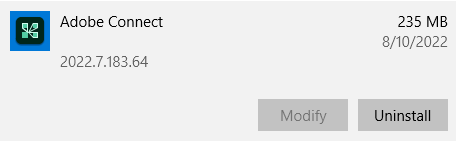
![Uninstall Adobe Connect]()
- Windows will remove the software.
Uninstalling the software does not equate to canceling your account. To cancel your account, you need to access your Adobe Dashboard, navigate to your account settings, and proceed with the account cancellation process.
Additional Software From Adobe
- Creative Cloud: A collection of more than 20 professional-grade editing and design tools. It also comes with Adobe Fonts, Creative Cloud Libraries, Adobe Portfolio, and 100 GB of cloud storage. Working with Creative Cloud makes it easy to share and collaborate on projects with others. Try it free for 7 days.
- Photoshop: The industry standard when it comes to digital editing, Adobe Photoshop has an extensive collection of precision editing and manipulation tools. The layer-based program is compatible with RAW files, removes unwanted objects, fixes blemishes, and much more. Get a free trial and try it out for 7 days.
- Premiere Pro: The multi-track video editor works with timeline and storyboard layouts. You can add special effects to the videos, text overlays, filters, voiceovers, and Auto Reframe to adjust for different platforms. You can try it free for 7 days, along with all Creative Cloud apps.
FAQ
Is Adobe Connect free?
Does Adobe Connect record the video conference?
Can I view reports on who attended my Adobe Connect meetings?