How to Cancel Adobe Creative Cloud & Get a Full Refund (2026)
Reading time: 14 min
Last Updated: May 4, 2026

True to their word, Adobe Creative Cloud gave me a full refund when I canceled my account with the 14-day money-back guarantee. Even though I used a special link to get a deal on the subscription price.
Adobe Creative Cloud is the hub for all 20+ Adobe apps. While it’s a convenient tool for managing all your design apps and comes with 100 GB of cloud storage, it can be overkill for someone that doesn’t need the entire collection of Adobe apps. That’s why I tested its 14-day money-back guarantee to make sure you can quickly and easily get a full refund if you don’t love it.
If you’re still looking for digital editing or web design tools, I recommend Movavi Unlimited, which you can try free for 7 days. It is a complete suite of apps for all your design needs and it’s significantly less expensive than Creative Cloud.
Before you get any additional software, I’ll walk you through the steps for canceling your Creative Cloud account, getting a refund, and uninstalling the app from your computer.
Click here to see more great alternatives.
Quick Guide: How to Cancel Creative Cloud and Get a Full Refund
-
- Log in: Visit Adobe.com and sign in to your account.
- Cancel Subscription: You can cancel your subscription directly from your Account settings.
- Get a Refund: You’ll get your refund within 5 business days!
Step-By-Step: How to Cancel Your Adobe Creative Cloud Account
Adobe lets users try out Creative Cloud and all 20+ desktop and mobile apps risk-free with a 14-day money-back guarantee. If you see that the program and apps are not for you, you can easily cancel your plan and get a complete refund. The process is quick and proven, just follow the instructions below, and you’ll receive your refund within 5 business days.
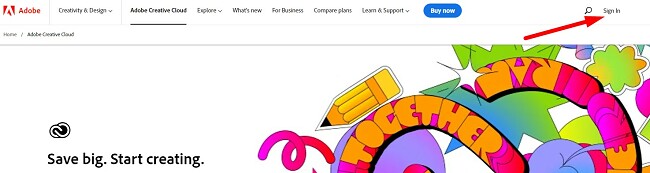
- Log In to the Adobe Website: There is no cancelation option through the Creative Cloud interface. To begin the cancelation process, you will need to head over to the Adobe website and login to your account.
![]()
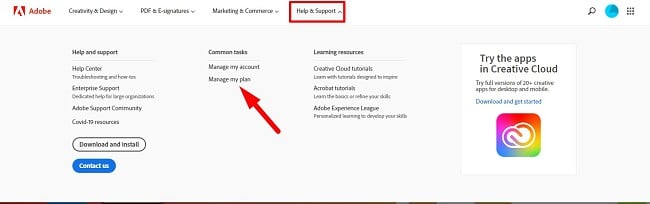
- Help & Support: Find the Help & Support link on the upper menu, and hover your mouse to open the drop-down menu. Find the Mange Plan link and click it to open your subscription page.
![]()
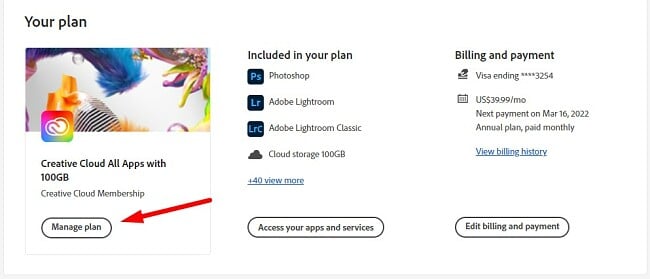
- Manage Plans: If you have multiple Adobe subscriptions, you’ll see them all listed here. Find Creative Cloud and press the Manage Plan button.
![]()
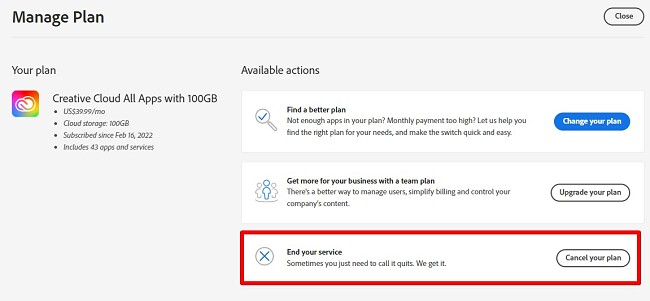
- Available Options: You have several actions that you can take to manage your account. Press the Cancel Your Plan button to start the cancelation process.
![]()
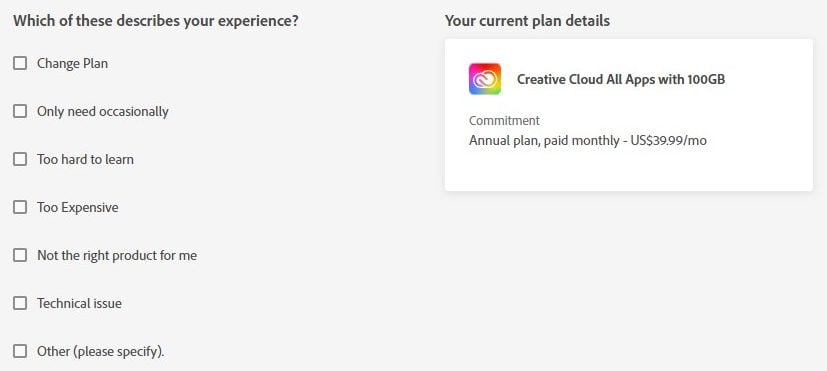
- Leave Feedback: While this is a no-questions-asked cancelation policy, Adobe asks for some feedback before canceling your account. You have to choose one of the answers, or pick Other and write in your reason. Your reason for canceling won’t affect your refund status.
![]()
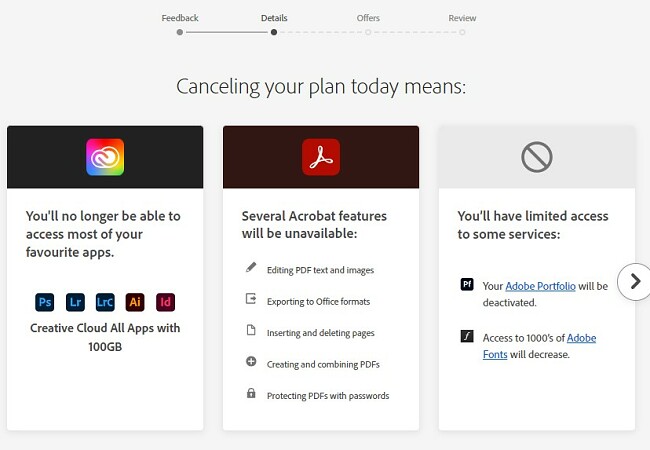
- Confirm: Your Creative Cloud account ends when you cancel your subscription. You will lose access to all the premium apps, and your cloud storage will be reduced from 100GB to 2GB. Press the Continue button if you are ready to cancel the account.
![]()
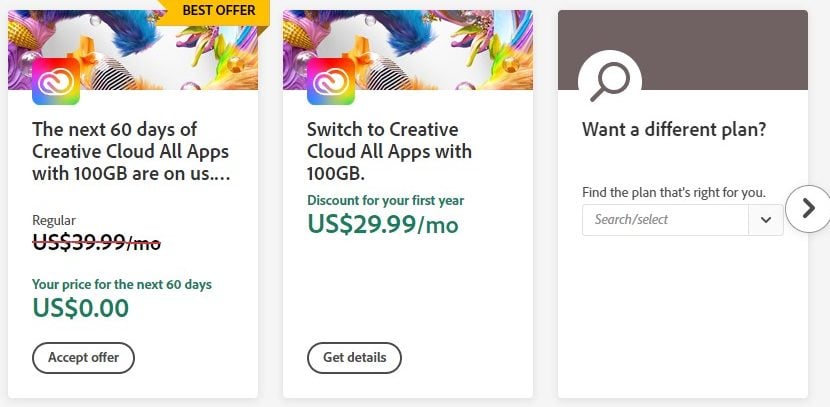
- Last Chance Offer: Before completing the cancelation, Creative Cloud will make several offers to try and convince you not to cancel your account. Press the No Thanks button if you aren’t interested in any of these deals.
![]()
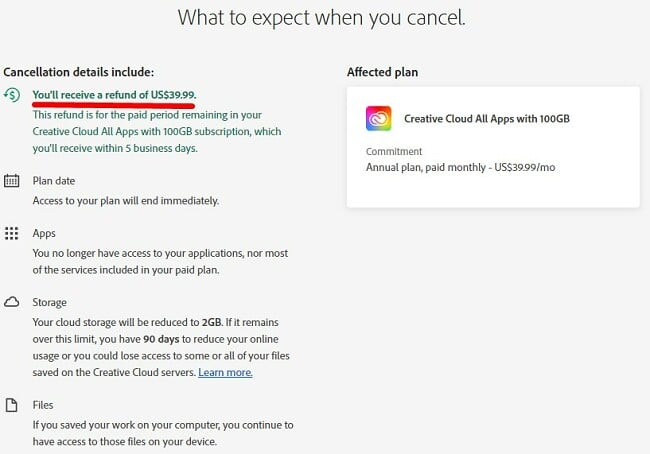
- Review: Look over the terms of cancelation. As long as you cancel your account within 14 days of purchasing the subscription, you should see that you’re receiving your refund. If you wait until after 14 days, there is still a chance you’ll receive a partial refund, but you will also have to pay a cancelation fee. Press the Confirm button to cancel your account officially.
![]()
- Cancelation Confirmation: Now that your account is canceled, you’ll receive confirmation that your refund is being processed. You can also see which free apps you still have access to and continue using Adobe apps as a free account holder.
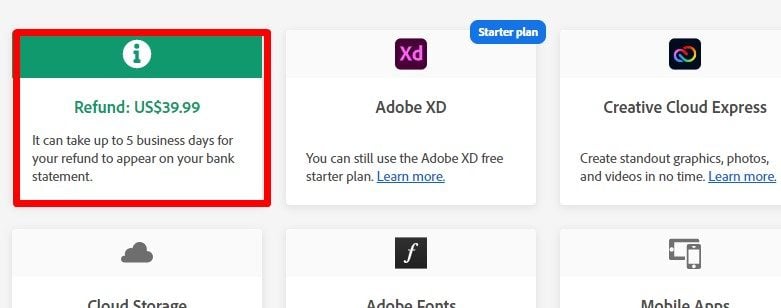
![]()
Try Movavi Unlimited for Free!
Best Creative Cloud Alternatives (Tested in 2026)
1. Movavi Unlimited: Combines 10 Programs with Powerful Editing Tools for Images, Video, Audio, and more

- Easy to use video and image editor
- Access to the Effects Store
- Convert videos to 180+ formats
- Mobile app makes it easy to transfer files to your phone wirelessly
- Presets for over 200 screen sizes
- 7-day free trial
Movavi is one of the leading developers of easy to use digital editing apps for images and videos. While each app is available as a standalone app, if you’re looking for an all-in-one option, I recommend Movavi Unlimited. It combines 10 programs that can handle all your photo and video editing needs, plus tools for screen recording, access to its special effects library, a PDF tool, and more.
All of the apps included in the Movavi Unlimited package are easy to use and will give you beautiful results in no time.
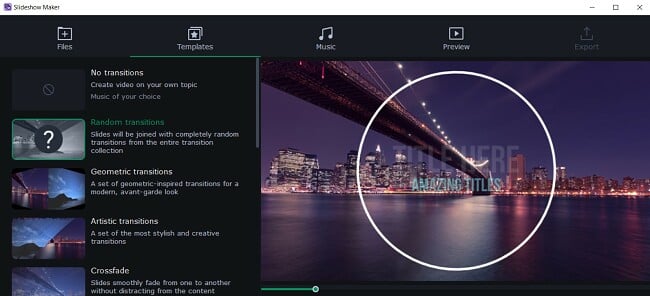
The photo editing tools that come with Movavi Unlimited are Picverse and Slideshow Makers. With these two programs, you can retouch images, change backgrounds, add filters, remove unwanted elements, add AR effects, and then display them all in a creative slideshow.
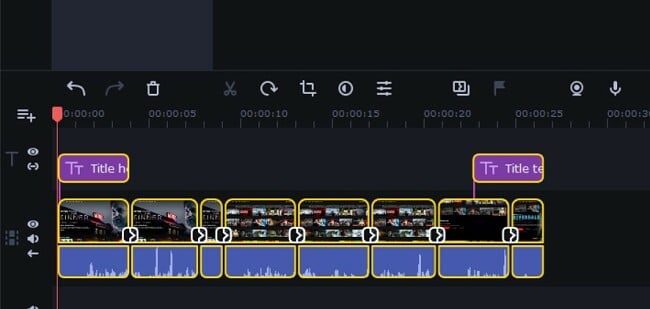
The video editing is made up of two powerful apps; Video Editor Plus and Video Converter Premium.
Video Editor Plus comes with all the tools needed to edit video and audio files. The multi-track timeline allows you to add filters, transitions, audio files, and images. If you don’t have any effects or images, just head over to the Effects store, where you’ll find a large selection of free and premium elements that can take your video to the next level.
One of the big perks of Movavi Unlimited, which you don’t get with similar suites, is full access to the Effects Store. Here, you’ll find effect sets that are designed around specific themes, stickers, transitions, backgrounds, filters, and much more that are seamlessly integrated with your Movavi projects to give your pictures and videos a personalized and professional feel.
Video Editor Plus also has tools for improving the quality of your video by stabilizing shaky video, removing unwanted noise, and synchronizing audio and video clips.
The Video Converter tool can convert video formats to over 180 formats and capture videos from VHS tapes and TV signals.
Movavi Unlimited also comes with a media player, a PDF reader and editor, and screen recording tools that can work as a live streamer.
While Movavi Unlimited does come with a 30-day money back guarantee, there are some conditions that you have to meet to qualify for the refund. However, there is a free 7 day trial, which gives you access to all the Movavi Unlimited apps and programs with no credit card needed.
2. CorelDRAW Graphics Suite: Powerful tools for Vector and Pixel Based Editing

- Collection of multiple tools to streamline the entire design and editing process
- 3-point perspective lets you visualize prototypes
- Easy to use digital editing tools
- Integrated Microsoft Teams for easy collaboration
- Change color schemes with a single click
- Try it risk-free for 15 days
CorelDRAW Graphics Suite has one of the best collections of apps for editing and creating digital images. The tools are fairly intuitive and not as difficult to learn as some other editing software, making it a solid choice for anyone from students to professional graphic designers, and everyone in between. If you’re new to CorelDRAW, there is a helpful tutorial that goes through the main tools, and how to make basic designs.
The CorelDRAW Graphics Suite includes multiple applications, which each focus on a different aspect of the editing and design process.
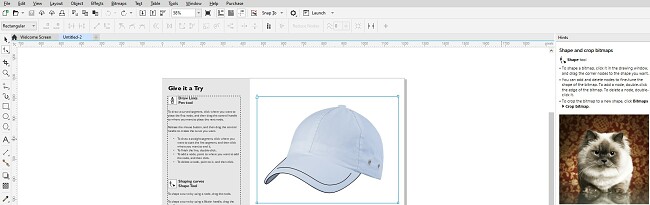
- CorelDRAW: A powerful vector-based tool that is ideal for creating images that allows you to create marketing materials, such as banner designs, brochures, pamphlets, as well as web design, and graphic design projects.
 Create vector images with 3 point perspective
![coreldraw prespective]()
- Corel PHOTO-PAINT: When you’re working on pixel images, the PHOTO-PAINT has all the tools you need to make professional edits, add filters, colors, shading, and much more.
- Corel PowerTRACE: Corel added the AI tool to quickly trace any image and then transform the bitmap image to a scalable vector image.
- Corel CAPTURE: An integrated screenshot tool, CAPTURE allows you to select specific elements on the page, the visible screen, or capture the entire page and upload it directly to your project.
- Corel CONNECT: The Corel browser makes it easy to find the content you need on your computer, local network, and the Corel content DVD. Search for everything from clipart, photo images, fonts, symbols, objects, and file formats that are supported.
CorelDRAW Graphics Suite has several features that will help you stay organized, on task, and collaborate with others. It has a dashboard, where you can leave notes, upload your preferred font types, and graphics that you frequently use.
If you’re working as a team, use the integrated Microsoft Teams application for team chats, sending files, and video meetings, with screen sharing. The Live Commenting feature allows you to stay in touch with clients or colleagues. You can leave notes or comments, add markups to the design, mark tasks complete to help streamline the creative process.
You can get started with CorelDRAW Suites risk-free with a 15-day free trial. You’ll have unlimited access to all of the tools and features without having to provide a credit card or other form of payment.
3. Luminar: Digital Photo Editor with Large Selection of AI Tools

- AI templates give your image the desired look and feel
- Change the background with the Sky Replacement tool
- Remove unwanted images from pictures
- Add professional filters, AR objects, and stickers to your image
- Professional editing tools give you precision control over color and tone
- Try it risk-free for 7 days
If your main concern is improving your pictures, creating perfect memories, or creating professional marketing images, Luminar is a can’t miss app.
It is one of the easiest digital photo editors I’ve tested, thanks largely to AI tools that automatically correct some common errors, such as bad lighting, shaky camera, and overexposure or underexposure.
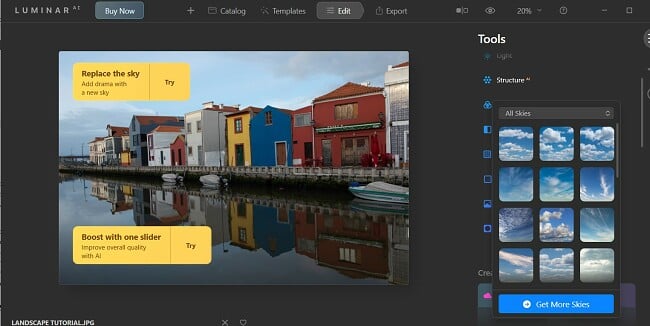
Luminar has a clean workspace, with all the editing tools neatly organized on the right side of the workstation. The majority of the tools are controlled by adjusting a slider to the left or right. You’ll see the edits occur in real-time, and if you’re not happy with how it looks, simply move the slider back to the original position, and try something else. All edits are non-destructive, so you don’t have to worry about permanently ruining one of your pictures as you try different edits or filters.
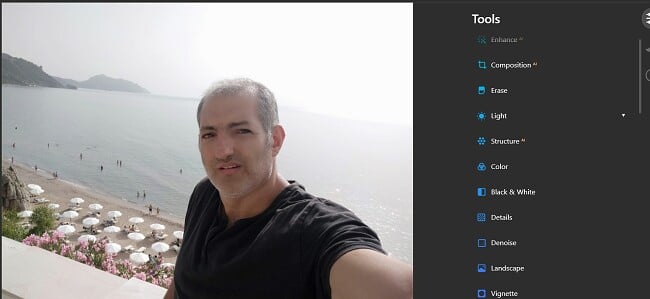
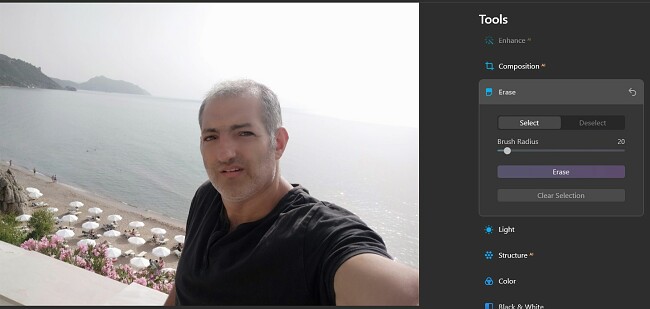
One of my favorite features is the one that removes unwanted objects from an image. The process is so easy. Simply highlight the objects that you want to remove, and Luminar will use AI to inspect the pixels and colors surrounding it so the picture maintains a natural feel.
There are also tools for replacing the sky, adding sun rays, AR objects, and adjusting the coloring to affect the mood. If you’re not sure what the picture needs, Luminar has a tool that will give you suggestions for how to improve the image.
Luminar also has a group of tools that can adjust a person’s face, eyes, mouth, skin, and body in a picture. It manipulates the pixels, so you can get the desired result. Adjust the slider to the right or left until you have the desired outcome. If you go too far to the right or left, the face may lose its natural look.
Luminar has a no-questions-asked 30-day money back guarantee and a 7-day free trial. This will give you plenty of time to evaluate the software and ensure that it can handle the type of editing tasks that you require.
Adobe Creative Cloud Money-Back Guarantee Policy
Adobe Creative Cloud has a very simple refund policy. You have up to 14 days to test and use all the features and apps included in Creative Cloud, and if you’re not happy for any reason, you can follow the simple steps above to cancel your account, and you’ll automatically receive your refund. The process is quick and easy, and best of all, you don’t have to talk with any customer service agents or listen to a sales talk that will attempt to convince you to keep your account.
If you purchased a monthly or prepaid annual plan, there is no option to cancel your account and request a partial refund. If you cancel one of these account types, you will still have full access to your account until the end of the billing cycle. If you get the annual subscription with a monthly payment, you can cancel your account early, and you will receive a partial refund. However, there is a cancelation fee that will cost you 50% of your remaining balance.
It is important to point out that when Adobe says they have a 14-day money-back guarantee, it starts with the time of day you purchased the subscription. Meaning if you completed the purchase at 11:30 AM on the 3rd of the month and you wait until the end of the day on the 17th to cancel your account, you will not be eligible for the refund.
FAQ
How do I cancel and get my money back from Adobe Creative Cloud?
Can I cancel Adobe Creative Cloud anytime?
According to the Adobe refund policy, the only subscription type that has a cancelation fee is the annual plan with monthly payments. You will be charged 50% of the remaining balance on your account, and the other 50% will be refunded to your credit card.
The other two subscription options don’t have a cancelation fee because there is no option to cancel your account after 14 days from the purchase date. Instead, when you cancel the account, it will just turn off recurring billing, and your subscription will continue until the end of the current billing cycle.
How long does Adobe Creative Cloud take to issue a refund??
The Bottom Line
I recommend Adobe Creative Cloud because it allows me to easily access 20+ editing apps, share files, upload different projects, and collaborate with other users.
However, for many people that are just looking for a digital editor, whether for pixels or vectors, many of the features in the Creative Cloud aren’t necessary, and therefore the price can seem high.
With the Adobe 14-day money-back guarantee, you can test the software risk-free, and if it isn’t right for you, cancel the account and get a complete refund. I found its refund process quick and easy.
If you’re still looking for an alternative program that can handle most of your editing needs, try Movavi Unlimited. It can solve all your design needs, from digital editing and web design to creating logos and producing marketing materials. Best of all, it has a 7 day free trial, so you can try it out yourself risk-free.


Leave a Comment
Cancel